How to create an email id in Plesk Control Panel ?

Plesk Control panel allows you to create the email id in the domain name. Creating the email id includes quota allocation and password modification .


Share This Now: [addtoany]

Watch Reseller Hosting Video Tutorial


Procedure

Procedure to create an email id in Plesk Control Panel :

Windows Reseller Web Hosting comes with plesk control panel. You will be able to add a email id under a domain name using Plesk Control Panel. Please follow the below procedure to create a email id in Plesk Control Panel.

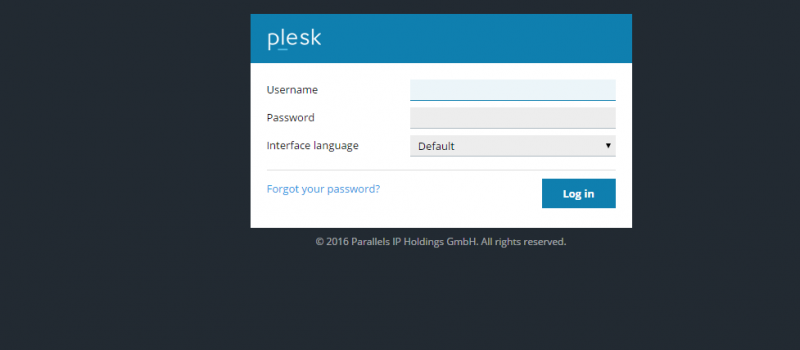
[1] Access your control panel at https://www.yourdomain.com:8443 [ Example :https://www.crmcell.com:8443 ]
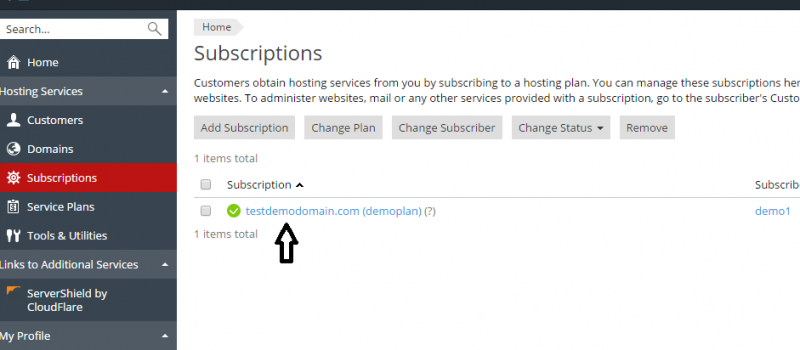
[2] Click on subscriptions
[3] Click your subscription name
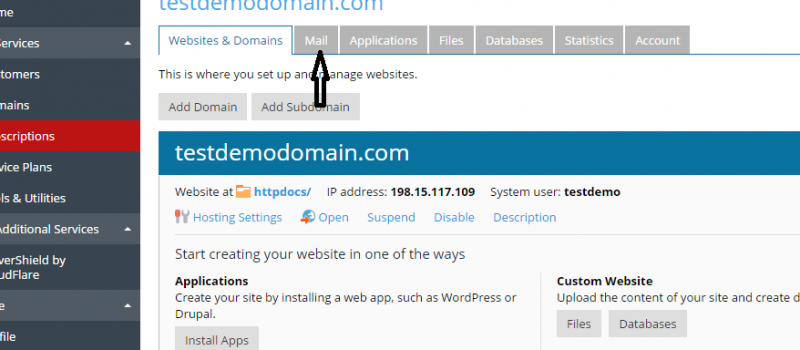
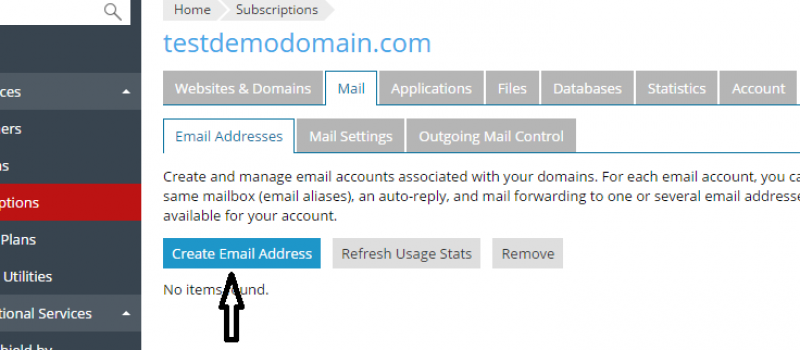
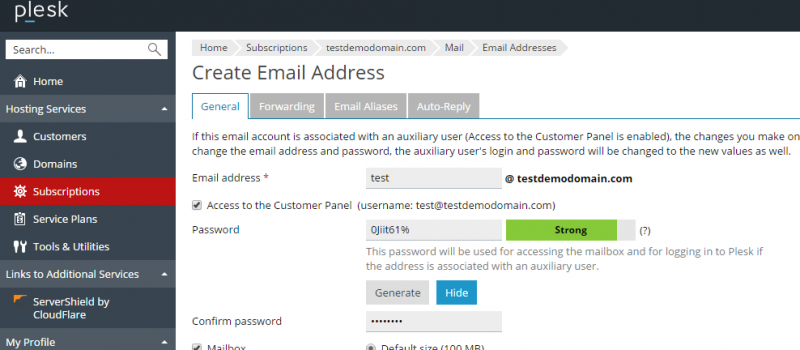
[4] Click on mail tab and click create email address

If you cannot see mail tab, then you might have not allocated email ids for your domain, during that time allocate mail ids for your domain continue the procedure

Enter the following Details :

a. Username : Supply the user name [ Must be less than 8 chars ]
b. Access to the Customer Panel [ KEEP THIS CHECKED ]
c. Password : Supply the password
d. Re-type Password : Retype password
e. Mailbox [ KEEP THIS CHECKED ]
f. Mailbox quota – Let the size remain as it is.

[5] Click on ok.

Note : Now you can able to access the mail id in webmail as “http://webmail.domainname.com/”

Screen Shots

Refer Screen Shots

Troubleshooting FAQs

Mail Troubleshooting FAQs

Unbale to allocate Mailbox quota for my domain getting error “Only 0 space available “

Solution :

To resolve this issue you check and allocate proper resources to your Domain Service plan . For that you can follow the below procedure to identify the resource that is not sync

with your plan.

1] Login to your plesk control panel.
2] Click on subscriptions.
3] Click on the subscription name.
4] Click on sync option.

This will list the parameters which you need to reduce in your plan or service plan.Change the same in your plan and again click on sync.

Unable to send mail getting error “Mailbox quota exceeded”

Solution :

If the domain get exceeded the allocated mail resources then you are unable to send mails . You have to check and increase the mailbox quota for your domain.

1] Login to your plesk control panel.
2] Click on subscriptions.
3] Click on the domain name.
4] Click on customize
5]change the Mailbox size

Unbale to allocate Mailbox quota for my domain getting error “Only 0 space available “

Solution :

To resolve this issue you check and allocate proper resources to your Domain Service plan . For that you can follow the below procedure to identify the resource that is not sync with your plan.

1] Login to your plesk control panel.
2] Click on subscriptions.
3] Click on the subscription name.
4] Click on sync option.

This will list the parameters which you need to reduce in your plan or service plan.Change the same in your plan and again click on sync.

Unable to send mails via Horde Webmail getting error “There was an error sender your message : Server Denied Authenication”

Solution:

Please note that what you are facing is the authentication issue connecting towards mail server. We suspect that your password is not complex due to which you are facing this error. We are unable to set the same password in the plesk as it is not complex, so we reset in the mail server directly and checked the sending of email, it is working with out any issue. In order to fix the issue permanently,Kindly reset the mail id password in the plesk control panel and use the generate password option in order to get complex password.

Unable to login into the webmail getting error “Authentication Failed / Unknown or Disabled User! “

Solution :

To check whether you have entered the username and password without any mistakes . If you dono the password kindly follow the below pocedure to reset the ftp password

1] Login to your plesk control panel.
2] Click on subscriptions.
3] Click on control panel of that subscriptions.
4] Click on Mail.
5] Click on the mail id for which you want to reset the password.
6] Change the password [ Give the tough password,which consist of alphanumeric characters ].
7] Click on ok.

Downloads

Related Downloads

Related Articles