How do I Whitelist the Local IP address in Dedicated Server ?
Share This Now: [addtoany]
Watch Reseller Hosting Video Tutorial
Procedure
Whitelisting The Local IP Address In Dedicated Server
Procedure for Whitelist the Local IP address (or) allowing IP in the firewall
———————————————————————————————
Kindly follow the below procedure for allowing the IP in the server firewall
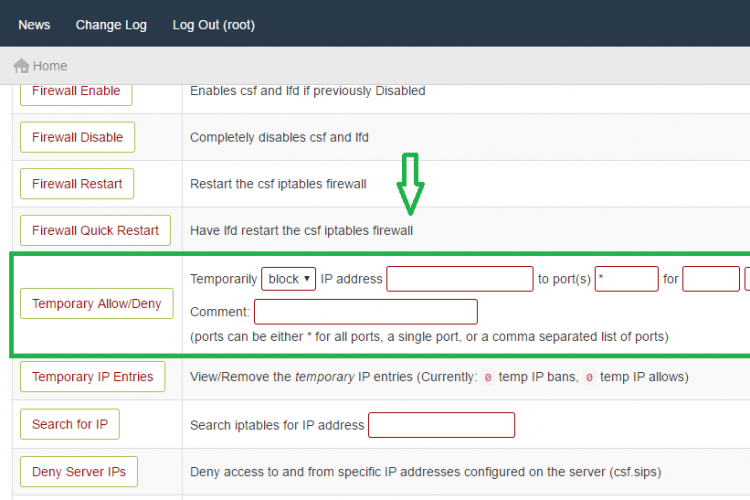
Allowing IP temporarily:
————————————-
Please note that you can temporarily allow a particular IP like in seconds, minutes, hours and in days,
i)Login to your WHM
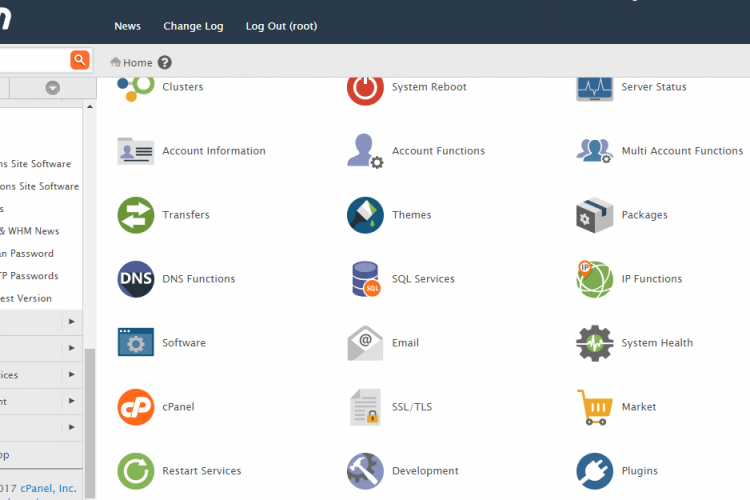
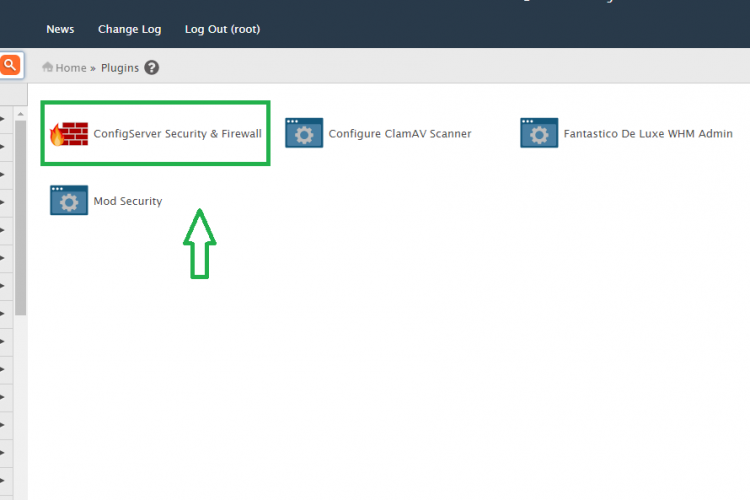
ii)Under plugin click on ConfigServer Security & Firewall
iii)In Temporary allow/Deny
Temporarily ->Choose allow
IP address ->Mention the IP address to be allowed
for -> The amount of time you required that IP to be allowed
Finally Click on Temporary allow/Deny
Allowing IP permanently
—————————————-
i)Login to your WHM
ii)Under plugin click on ConfigServer Security & Firewall
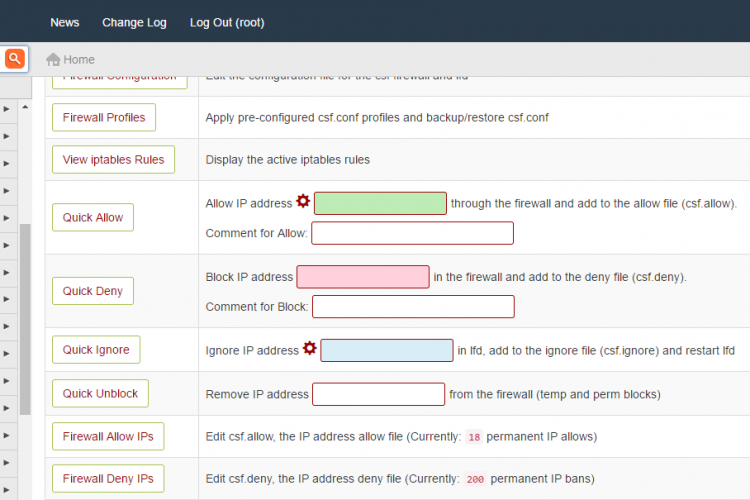
iii)Enter IP in quick allow and click on quick allow.
Dedicated Server Troubleshooting FAQs
[sp_faq limit=”10″ category=”98″ single_open=”true” transition_speed=”300″]
Screen Shots
Refer Screen Shots
Troubleshooting FAQs
Dedicated Server WHM Troubleshooting FAQs
[sp_faq design=”design-2″ sp_faq category=”2658″ sp_faq limit=”10″ single_open=”true”]